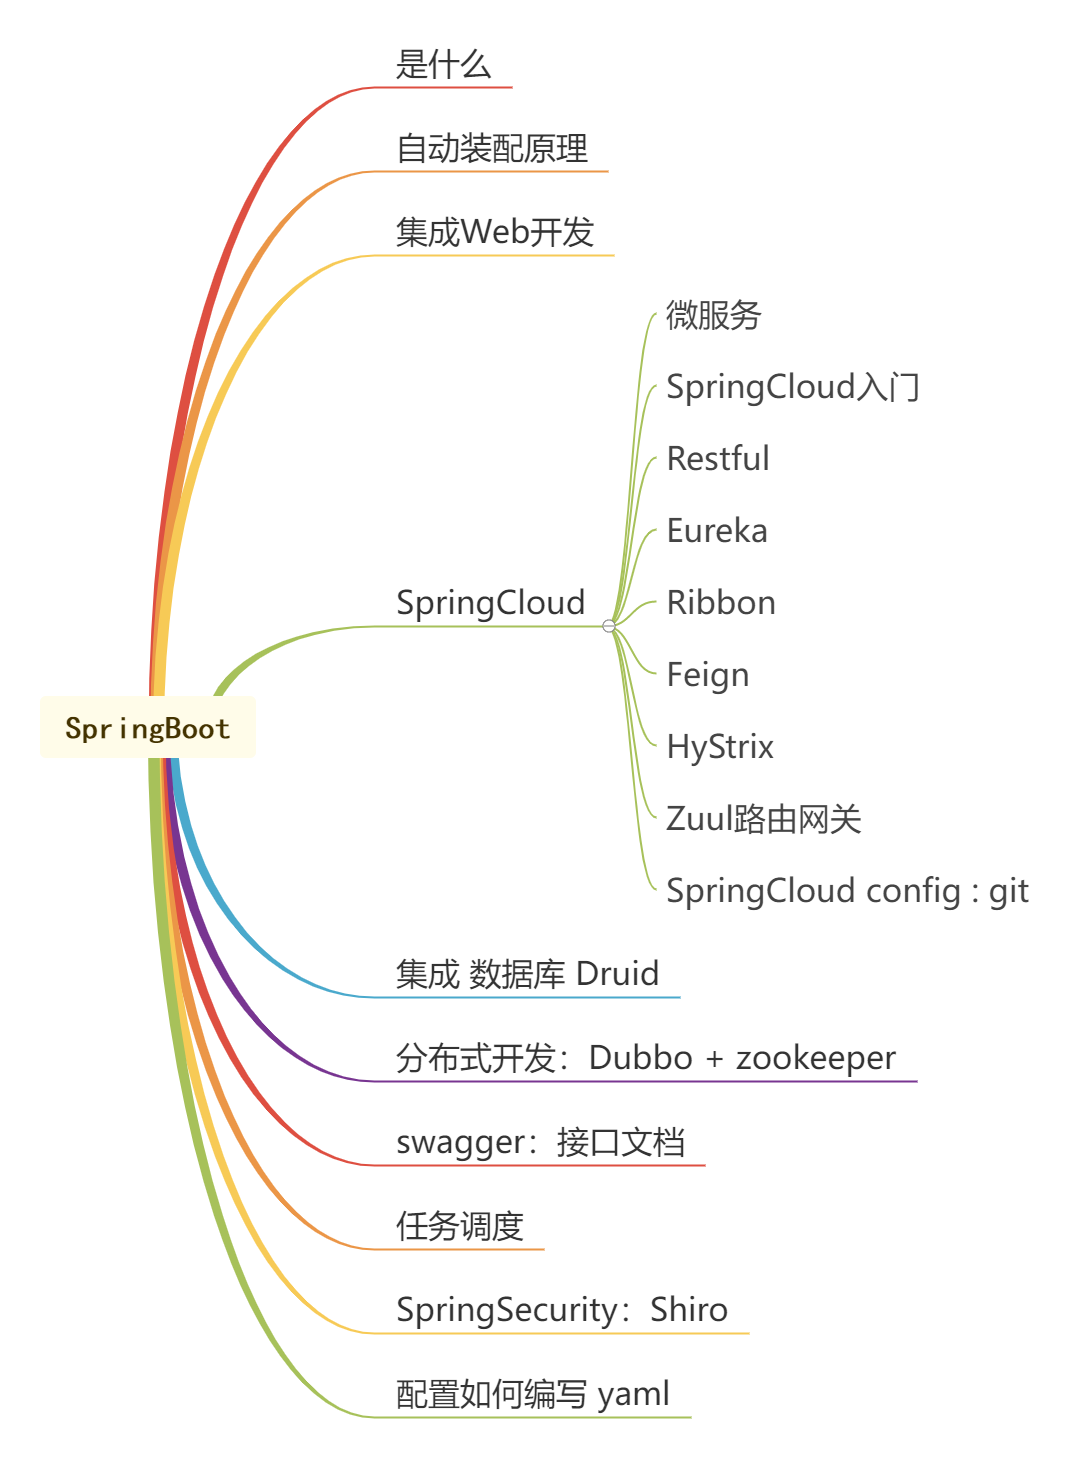
引入
微服务架构
应用架构
单体应用架构(All in one)
单体应用架构(All in one),将一个应用中的所有应用服务都封装在一个应用中。
优点:
- 易于开发和测试;
- 方便部署;
缺点:
- 如果要修改一个地方,就去要停掉整个服务,重新打包;
微服务架构
打破all in one的架构方式,将每个功能元素独立出来,把独立出来的功能元素动态组合。
优点:
- 节省了调用资源;
- 每个功能元素的服务都是一个可替换的,可独立升级的软件代码。
微服务全套
- 构建一个个功能独立的微服务应用单元,可以使用springboot,可以帮我们快速构建一个应用
- 大型分布式网络服务的调用,使用SpringCloud实现分布式;
- 在分布式中间,进行流式数据计算、批处理,使用SpringCloud DataFlow实现;
第一个SpringBoot程序
过程
使用

controller目录下创建Controller可以直接运行;
Controller文件
1
2
3
4
5
6
7
8
9
public class Controller {
// http://127.0.0.1:8080/hello
public String hello(){
//调用业务,接收前端参数
return "hello,World.";
}
}运行

文件介绍
目录:src/java/com.xx.xx
controller:controller目录
dao:dao目录
pojo:pojo目录
service:service目录
FirstProjectApplication(这里名字自定义,按照生成的来):程序入口
程序入口
在SpringBoot项目创建时,自动生成的类即为程序的入口。
1 | //标注这个类是一个SpringBoot应用 |
resources
static:静态资源文件
templates:模板文件。hole…
pom.xml
这是一个Maven的配置文件
1 |
|
- parent项目有一个父项目:spring-boot-starter-parent。继承spring-boot-starter-parent的依赖管理,控制版本和打包等内容;
- groupId、artifactId和version定位项目用;
- dependencies依赖:
- web依赖:spring-boot-starter-web。用于实现HTTP结构(这个依赖包含了Spring MVC)。
- 单元测试:spring-boot-starter-test。用于编写单元测试的依赖包。
- 打包插件:spring-boot-maven-plugin。配合spring-boot-starter-parent就可以把Spring Boot应用打包成JAR文件来直接运行。
SpringBoot在pom.xml的一些介绍
SpringBoot的一些依赖在父工程spring-boot-starter-parent中;
引入springboot依赖的时候,不需要指定版本,因为spring-boot有指定一些依赖的版本;
pom.xml中的starter依赖
1 | <dependency> |
是SpringBoot的启动场景;
1 | <dependency> |
SpringBoot将所有的功能场景,都包装成一个个启动器。(上面是springboot的web启动器);
若要使用某些功能,只需要找到响应的启动器就可。
starter列表:https://docs.spring.io/spring-boot/docs/2.7.3/reference/html/using.html#using.build-systems.starters
文件标识

若文件右下角有标识,标识文件已被识别
打包

Maven下有个package打包选项。
1 | [INFO] --- spring-boot-maven-plugin:2.7.3:repackage (repackage) @ FirstProject --- |
生成项目可以使用Java运行。
SpringBoot自动装配
SpringBoot内置大量的自动配置类,可以在需要时自动导入需要的自动配置类。
声明自动配置类的配置文件
SpringBoot在启动时,会从一种配置文件中读取可以用来装配的类,这种配置文件主要在两种目录中:
- 项目目录下的resources/META-INF/spring.factories;
- 另一个是org.springframework.boot.autoconfigure的jar包目录下的spring/org.springframework.boot.autoconfigure.AutoConfiguration.imports文件里;
文件示例
1 | //org.springframework.boot.autoconfigure.AutoConfiguration.imports文件 |
1 | //resources/META-INF/spring.factories |
自动装配原理
@SpringBootApplication注解表示这是一个SpringBoot应用。
被注解的类在启动时,SpringBoot会扫描所有需要的类,使用内置的自动配置类实现一些类的自动装配。
依据以下顺序在代码中顺藤摸瓜:
@SpringBootApplication
@EnableAutoConfiguration //开启自动配置
@Import(AutoConfigurationImportSelector.class) //导入了一个自动配置导入选择器
selectImports()//选择导入
AutoConfigurationEntry getAutoConfigurationEntry()//获得自动配置
getCandidateConfigurations()//获取候选配置
loadFactoryNames()//加载工厂名字
loadSpringFactories()//加载spring工厂
result = new HashMap<>(); try { Enumeration<URL> urls = classLoader.getResources(FACTORIES_RESOURCE_LOCATION);//获得FACTORIES_RESOURCE_LOCATION目录下的资源文件。 while (urls.hasMoreElements()) {//遍历资源文件 URL url = urls.nextElement(); UrlResource resource = new UrlResource(url); Properties properties = PropertiesLoaderUtils.loadProperties(resource); for (Map.Entry<?, ?> entry : properties.entrySet()) {//遍历其中的项 String factoryTypeName = ((String) entry.getKey()).trim(); String[] factoryImplementationNames = StringUtils.commaDelimitedListToStringArray((String) entry.getValue()); for (String factoryImplementationName : factoryImplementationNames) { result.computeIfAbsent(factoryTypeName, key -> new ArrayList<>()) .add(factoryImplementationName.trim()); } } }1
2
3
4
5
6
7
8
9
10
11
12
13
14
15
16
17
18
19
- hole...
# application.properties一些简易的配置
```properties
#更改项目端口号
server.port=8081
# 自定义banner
spring.banner.location=classpath:banner.txt
#修改访问时的路径
server.servlet.context-path=/yn
# 添加前:http://127.0.0.1:8080/
# 添加后:http://127.0.0.1:8080/yn/
# 修改 mvc页面请求->Date映射 时,页面请求传入的时候日期解析的方式
spring.mvc.format.date=yyyy-MM-dd
# 如 url: /?d=2022/2/22 是默认方式
# 但大部分前端使用2022-2-22格式 通过这个配置可以修改日期解析的格式

在resources文件夹下添加banner.txt文件可以直接修改banner。
使用Idea创建SpringBoot项目

其他
路

